 This style of tin roof maintenance: the metal roof repair consists of the following– four layers of acrylic with mesh between two of the metal roof coatings. The amount of acrylic is over double the quantity of a basic painted roofing repair project.
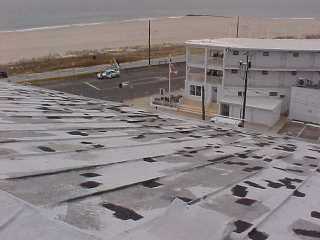
The first six photos illustrate the very basic steps.
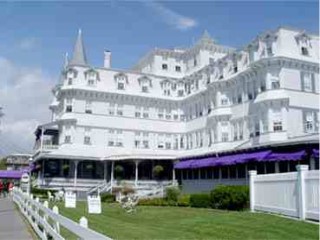
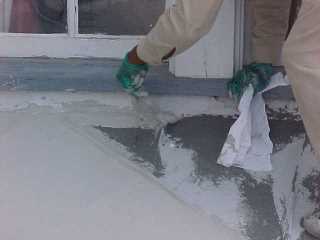
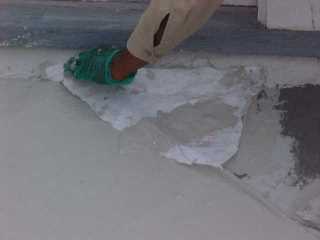
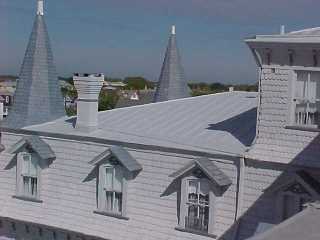
Inn of Cape May, Cape May, NJAcrylic is poured onto the roof and squeegied or brushed in the immediate area of tin roofing repair. Mesh is brushed in and the overlapping seams are sealed with acrylic. Plus, the mesh inclusion adds integrity to the liquid coating material.
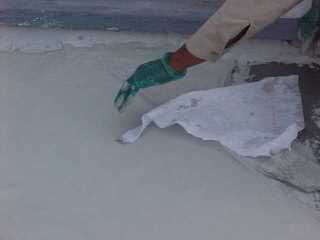
A second basecoat is applied to the mesh. With these steps accomplished, the crew has completed the foundation for the fully reinforced system.
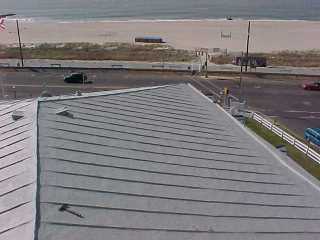
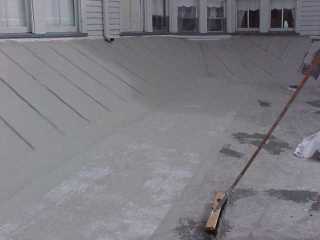
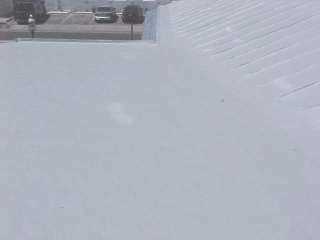
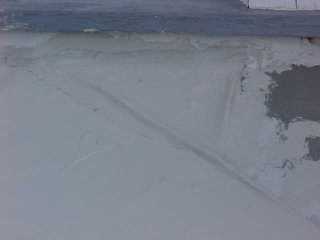
Two more metal roof coatings are applied that assure a longetivity to the fully reinforced application. For any tin roof project, the owner’s color choice needs to be addressed. In this instance, the owner of the Inn of Cape May selected a light grey tint.
Standing seam panel basework
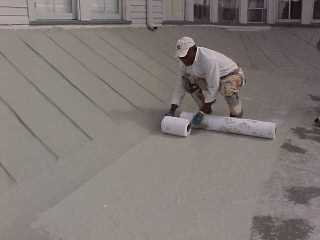
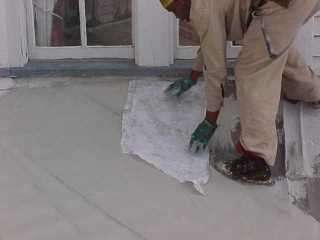
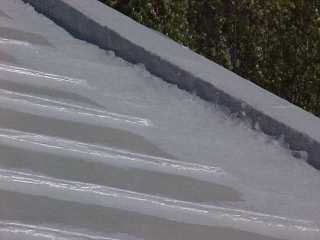
On a standing seam panel, the tin roof repair applies mesh over a basecoat application. The mesh is smoothed and contoured to the profile of the roof. Every standing seam receives attention from the hands of the crew members.
Another coating of basecoat acrylic is brushed down. The new panel area now is blending in with the adjoining panels that have already received the metal roof repair products.


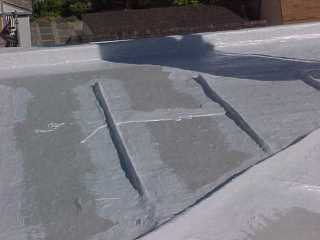
Detail corner basework
For corners and other odd sizes, a piece of mesh is cut to overlap any adjoining work. Again the work is applied by hand as well as brushes. The bristles of the brush assist in pushing the mesh into the profile of the panels.
Note that the mesh overlaps with The last photo shows the crew member continuing to the next small area.

Tin roof repair’s final coatings
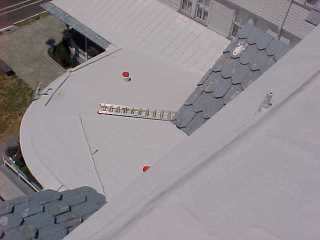
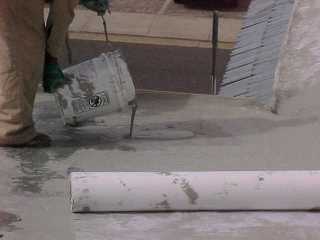
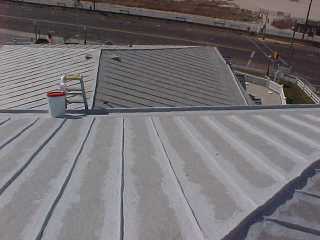
With the top coats, the crew “cuts” into the standing seam lines to insure acrylic is applied in the corners and other difficult areas. Then the top coat is poured onto the roofing surface. Lester, the head man, has so much experience with acrylic, he can closely estimate the amount of acrylic to pour from the pail. The first top coat almost completes the process.

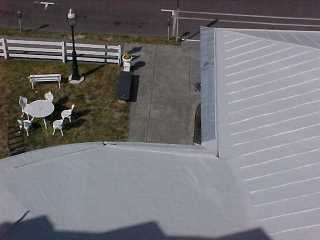
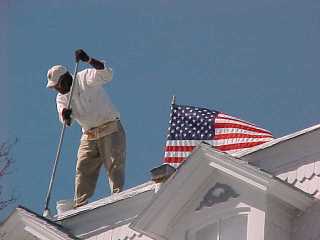
Final touches
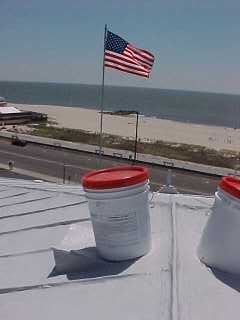
The final top coat is difficult to photograph since the this last coat only adds another layer of tinted acrylic. After ten years, approximately 50% of this final top coat will have eroded away, leaving 3.5 layers of acrylic. The red capped pails held the top coat formulation of Preservation Products concrete grey acrylic–extra strength.
This high strength version of Preservation Products top coats is the same formulation this company contracted to supply NASA for coating the engine parts of the shuttle. For seaside projects, the formulation presents some advantages.